Your nails deserve a little TLC, and mastering the at-home manicure is a skill worth having. Whether you’re trying to save on salon costs or just unwind at home, a DIY manicure can be both rewarding and relaxing. From prepping your nails to top coating, here’s a comprehensive guide to achieving salon-quality results from the comfort of your own home.
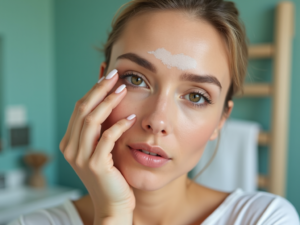
1. Prepping Your Nails
The foundation of any great manicure is proper preparation. Begin by removing any old nail polish using a non-acetone remover, which is less drying to the nails. Once your nails are clean, it’s time to shape them. Use a high-quality nail file to gently file your nails in one direction to prevent splitting. Aim for your desired shape, whether it’s square, oval, or almond.
After shaping, the next step is to soak your hands in a bowl of warm, soapy water for about five minutes. This softens the cuticles, making them easier to manage. Post-soaking, gently push back your cuticles using a cuticle pusher. Avoid cutting your cuticles, as this can lead to infection and damage.
2. Strengthen and Protect
Before applying any polish, it’s crucial to protect and nourish your nails. Start with a base coat—this not only helps polish adhere better but also prevents staining. Look for a base coat that contains vitamins and nutrients to strengthen your nails.
If your nails are weak or prone to breaking, consider using a nail strengthener or a fortified base coat. These are typically enriched with proteins and other beneficial ingredients that promote nail health. Always read labels carefully to ensure you’re picking a product that best suits your nail type and needs.
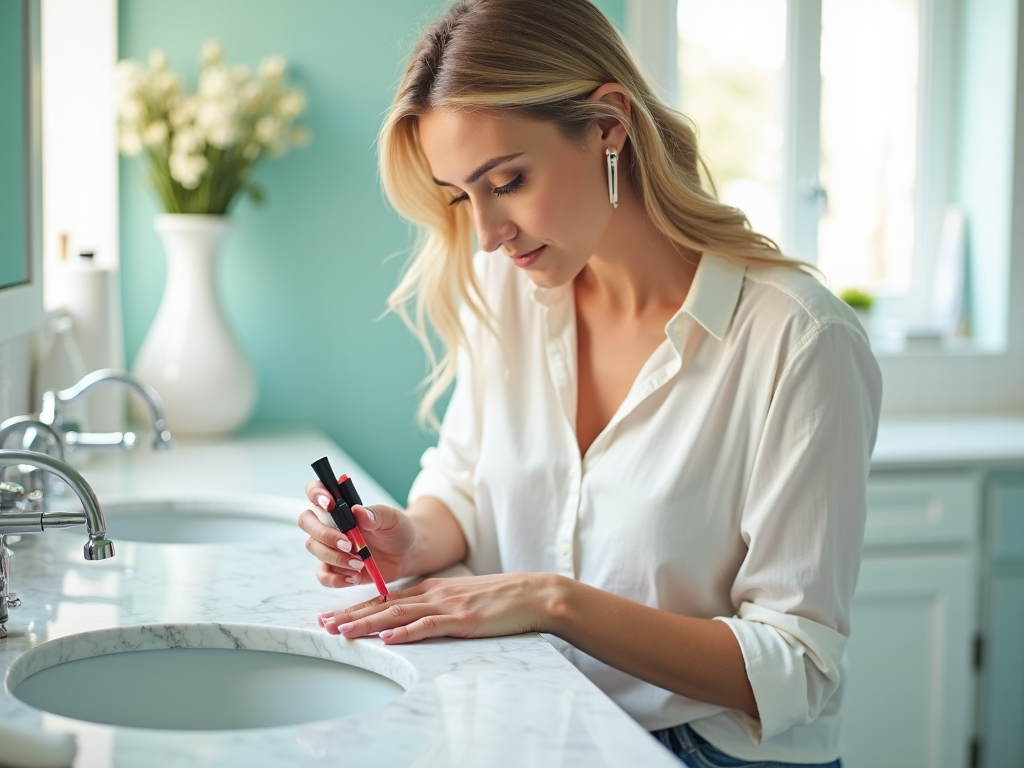
Picking the right nail polish is more significant than one might think. When selecting a polish, consider both its formula and color. Fast-drying, chip-resistant formulas are ideal for those who are constantly on the go.
The color is largely dependent on personal preference and occasion. For an everyday look, neutral tones are an excellent choice, while bold colors can add a pop of personality for special events. Remember to shake the bottle well before applying to ensure that the formula is thoroughly mixed.
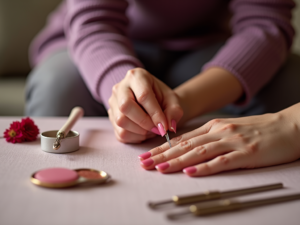
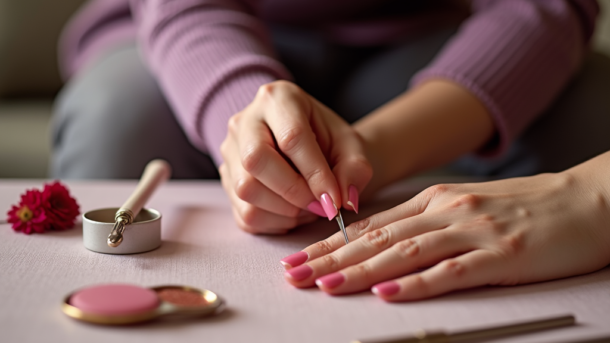
3. Mastering the Application
Applying nail polish like a pro is a step-by-step process. First, load the brush by dipping it into the polish and wiping off the excess on the inner edge of the bottle. Begin with the center of the nail, starting from the cuticle and working your way to the tip. Follow with strokes on each side of the nail to ensure full coverage.
Allow the first coat to dry completely before applying a second one, which adds depth and richness to the color. Patience is key here; hurriedly applying coats can lead to smudges and unevenness. For a neat finish, use a small brush dipped in nail polish remover to clean up any mistakes on the skin around the nails.
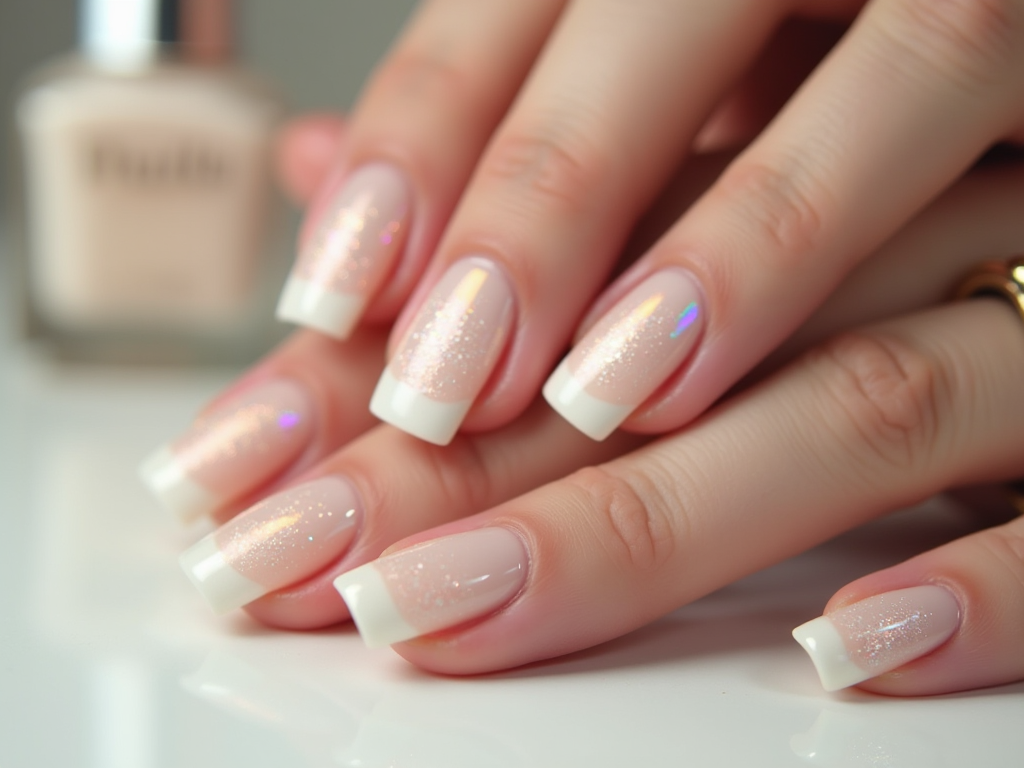
4. Sealing Your Manicure
A top coat is essential for sealing in your manicure, providing shine, and extending wear-time. Opt for a high gloss top coat for a polished finish or a matte coat for a more understated look. Apply the top coat in thin, even layers and ensure it covers the edges to prevent chipping.
Once applied, allow ample drying time. Resist the temptation to engage your hands in any activity until the polish is fully set. For a salon-quality finish, consider using quick-dry drops or a nail fan to speed up the drying process.
5. Post-Manicure Care
Your newly polished nails still need care to maintain their beauty. Moisturize your hands and nails daily to keep them hydrated and healthy. Hand creams or oils are excellent options for this purpose. Moreover, be mindful of your nails when performing tasks that could potentially cause breaks or chips.
Another tip is to reapply your top coat every few days to prolong the life of your manicure. This small step can make your at-home manicure last almost as long as a professional one. Also, invest in gloves for activities like washing dishes or gardening to protect your nails.
Conclusion
Nailing the perfect at-home manicure requires some practice but is undoubtedly rewarding. By following these detailed steps, you’ll ensure beautifully manicured nails without the salon visit. Remember, the key is patience and precision—take your time with each step, and you’ll have a flawless finish. Not only will you save money and time, but you’ll also enjoy the satisfaction of a job well done. Happy painting!
Frequently Asked Questions
- How often should I do an at-home manicure? Ideally, you should refresh your manicure every week to maintain a neat appearance and keep your nails healthy.
- Can I use regular nail polish remover on gel nails? It’s best to use acetone or a gel polish remover for gel nails to effectively break down the formula for safe removal.
- What should I do if I have brittle nails? Incorporate a nourishing oil or cuticle cream into your routine and use a strengthening base coat specifically formulated for brittle nails.
- How can I prevent my nail polish from chipping? Ensure thorough nail prep, use a quality base and topcoat, and reapply the topcoat every few days to seal and protect the polish.
- Is it bad to file my nails every day? Filing your nails every day can lead to weakening and splitting. Limit filing to once a week or as needed to maintain length and shape.